


Guide to Creating a Captivating 3D Walkthrough: Step-by-Step Process
Introduction
A 3D walkthrough has slowly become one of those things clients now expect rather than admire. It gives a real sense of space before anything is physically built, which honestly changes how projects are presented and sold. If you’re learning how to create 3d walkthrough animation for architecture or interiors, the process is not just technical, it’s also about storytelling. Every frame has to feel intentional. And yes, a bit of patience goes a long way here because the quality usually shows up in the details more than anything else.
What Is a 3D Walkthrough? Complete Beginner’s Guide
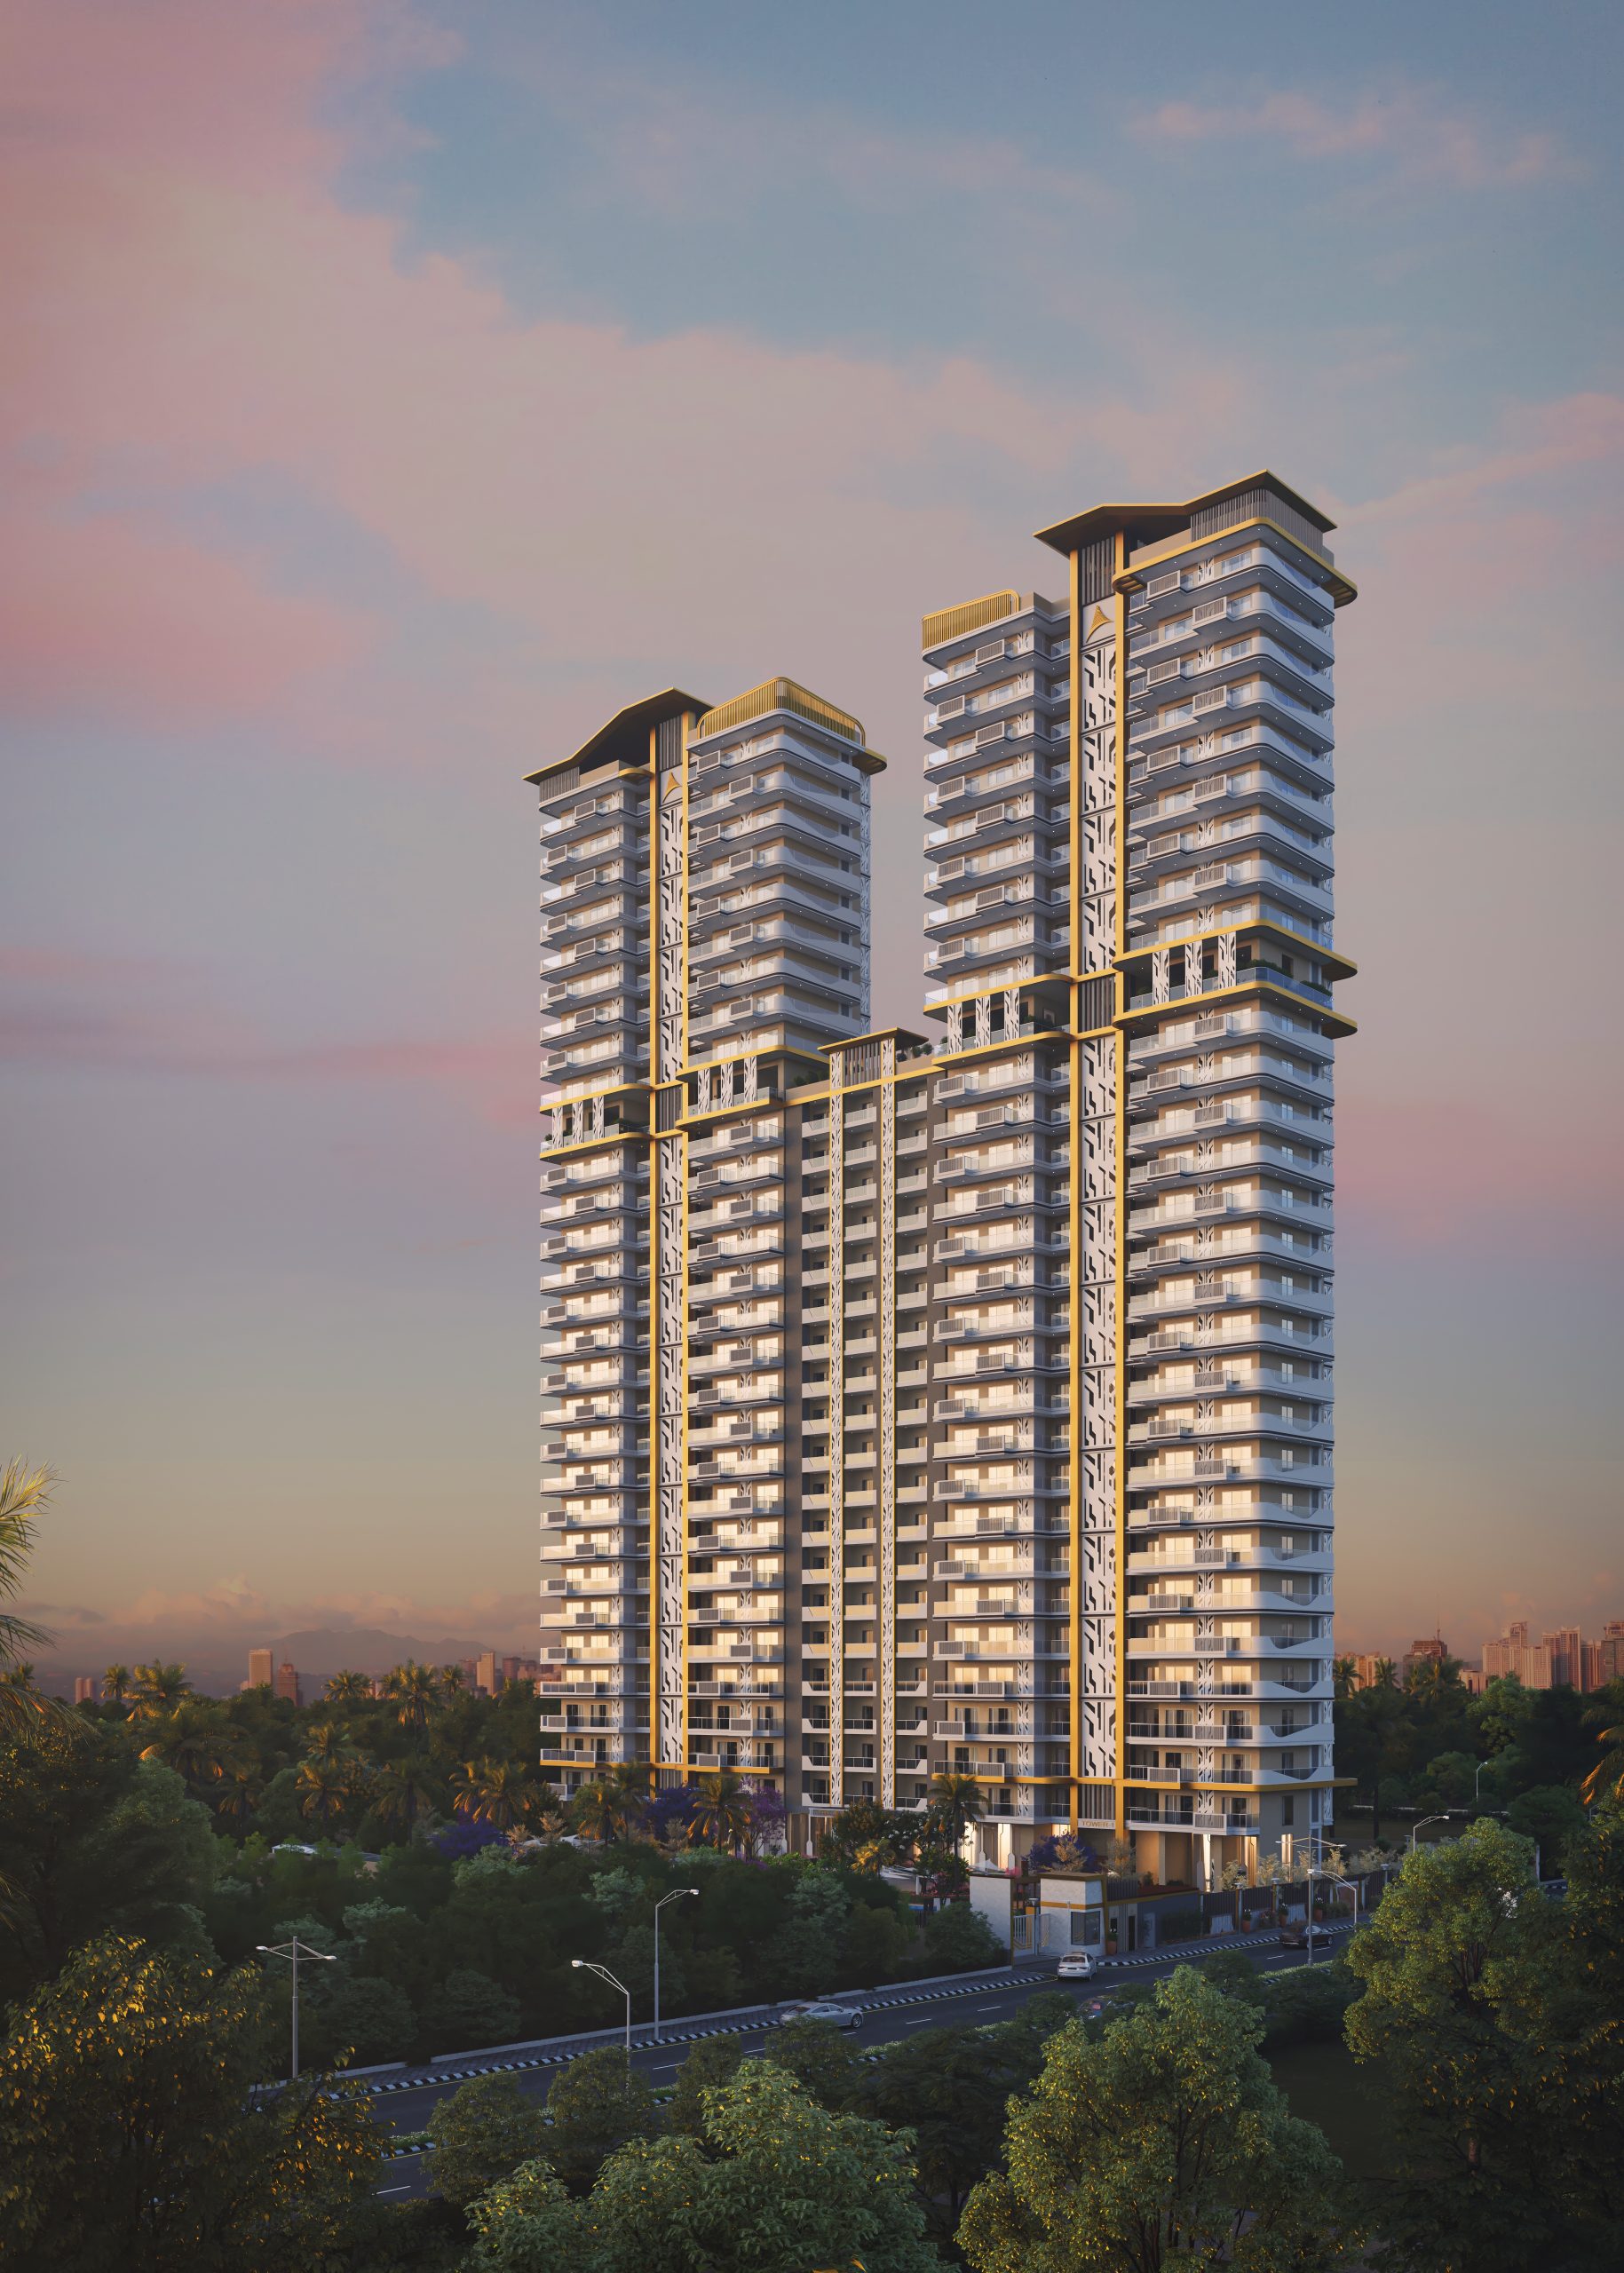
A 3D walkthrough is basically a guided visual experience of a space created using digital modelling and animation. Instead of looking at a single image, you move through rooms, corridors, and environments as if you are physically inside them. It helps viewers understand layout, scale, and flow in a much more natural way than drawings or still renders. A 3d architectural walkthrough is often used in real estate, design presentations, and planning approvals because it makes abstract ideas easier to understand. It feels closer to reality, even though the space might not exist yet.
Key Benefits of 3D Walkthroughs Across Different Industries
Real Estate and Property Marketing
- In real estate, walkthroughs help buyers understand a property without visiting it physically.
- They support pre-sales for under-construction projects.
- They also improve investor confidence during presentations.
- Marketing teams often reuse the same video in ads and listings, which makes it practical.
Architecture and Construction Projects
- Architects use walkthroughs to communicate design intent clearly.
- Contractors can better understand spatial planning and execution requirements.
- This makes it less confusing when the project is being discussed initially.
- It is also useful for client approvals, particularly in more complicated designs.
Interior Design and Space Planning
- The interior designer uses it to demonstrate spatial arrangement and furniture placement.
- It allows the client to have a better understanding of how the space will feel.
- It also reduces revisions later in the project cycle.
Why 3D Walkthroughs Are Essential for Interior Designers
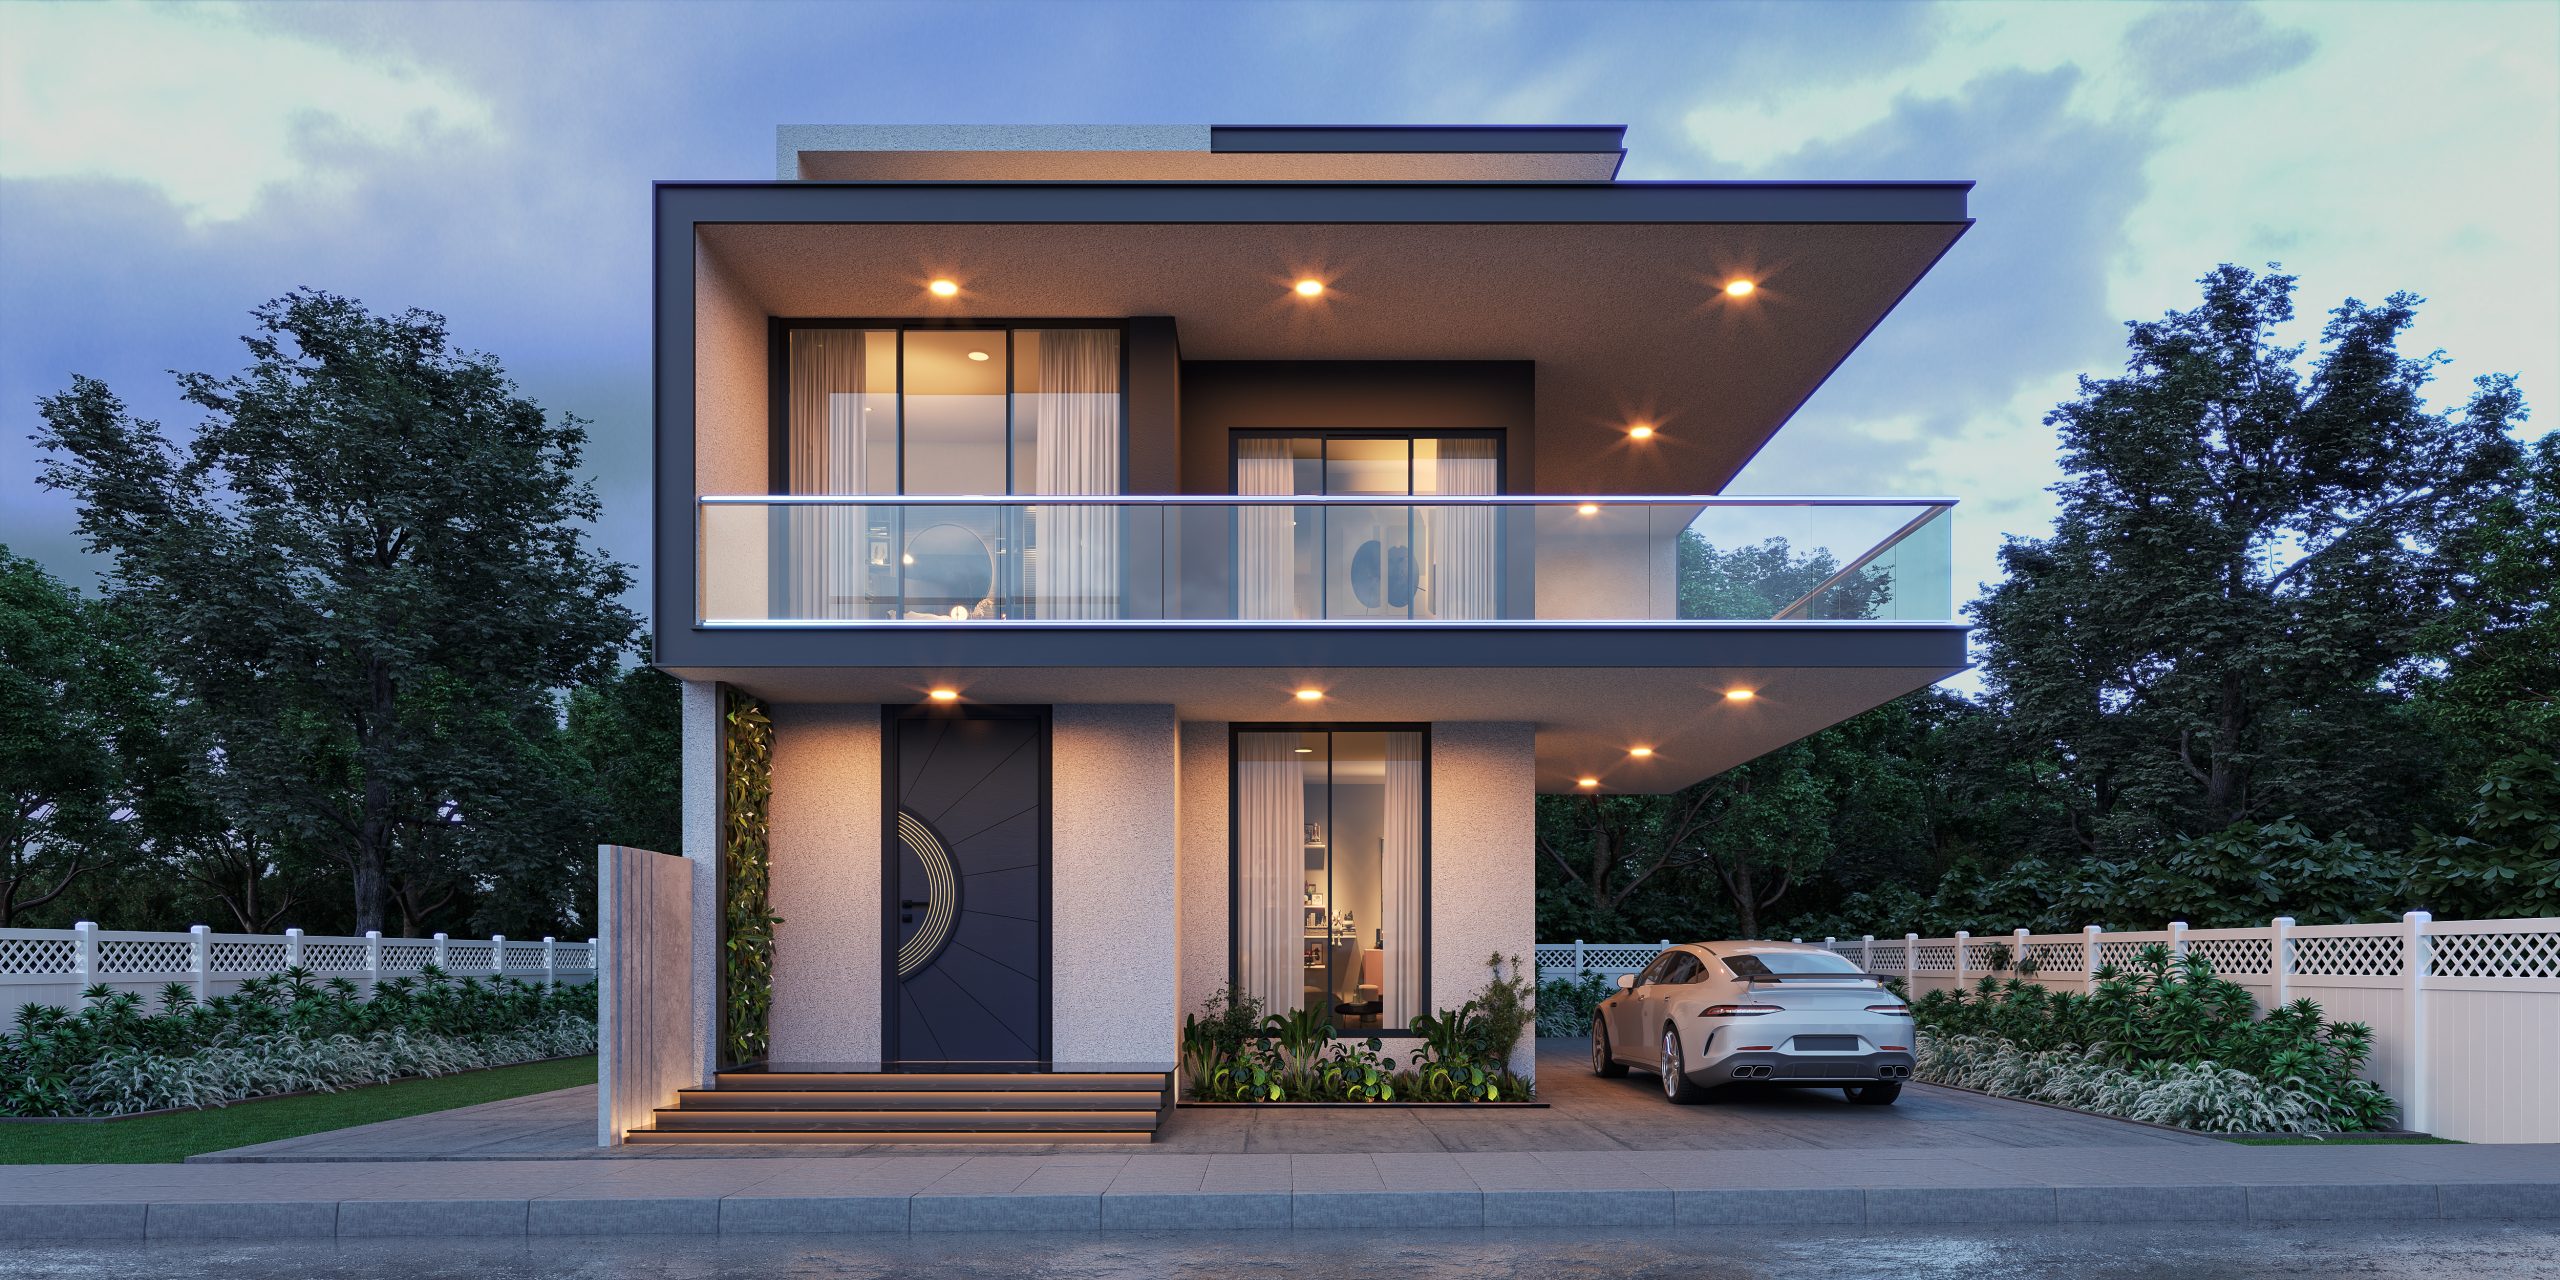
Interior design is one of those fields where visuals matter more than explanations. Clients rarely interpret floor plans the way designers expect them to. A walkthrough bridges that gap in a very practical way. It allows one to see lighting, motion, texture, and spacing instantly, making decision-making quicker and more assured. Moreover, it enables one to communicate their concepts without necessarily elaborating on everything, which is very helpful, actually.
Step-by-Step Process to Create an Architectural 3D Walkthrough
Step 1: Planning and Concept Development
This process begins with comprehending the scope of the work to be done. Designers gather reference files, floor plans, and client expectations. A rough visual direction is set before any modelling begins. It might feel basic, but skipping this usually creates problems later.
Step 2: 3D Modeling of the Space
Here the actual structure is built digitally. Walls, rooms, furniture layouts, and structural elements are created in 3D software. Precision is critical in this process because it determines everything else. A slight error could compromise the results of the whole walkthrough.
Step 3: Texturing, Lighting, and Materials
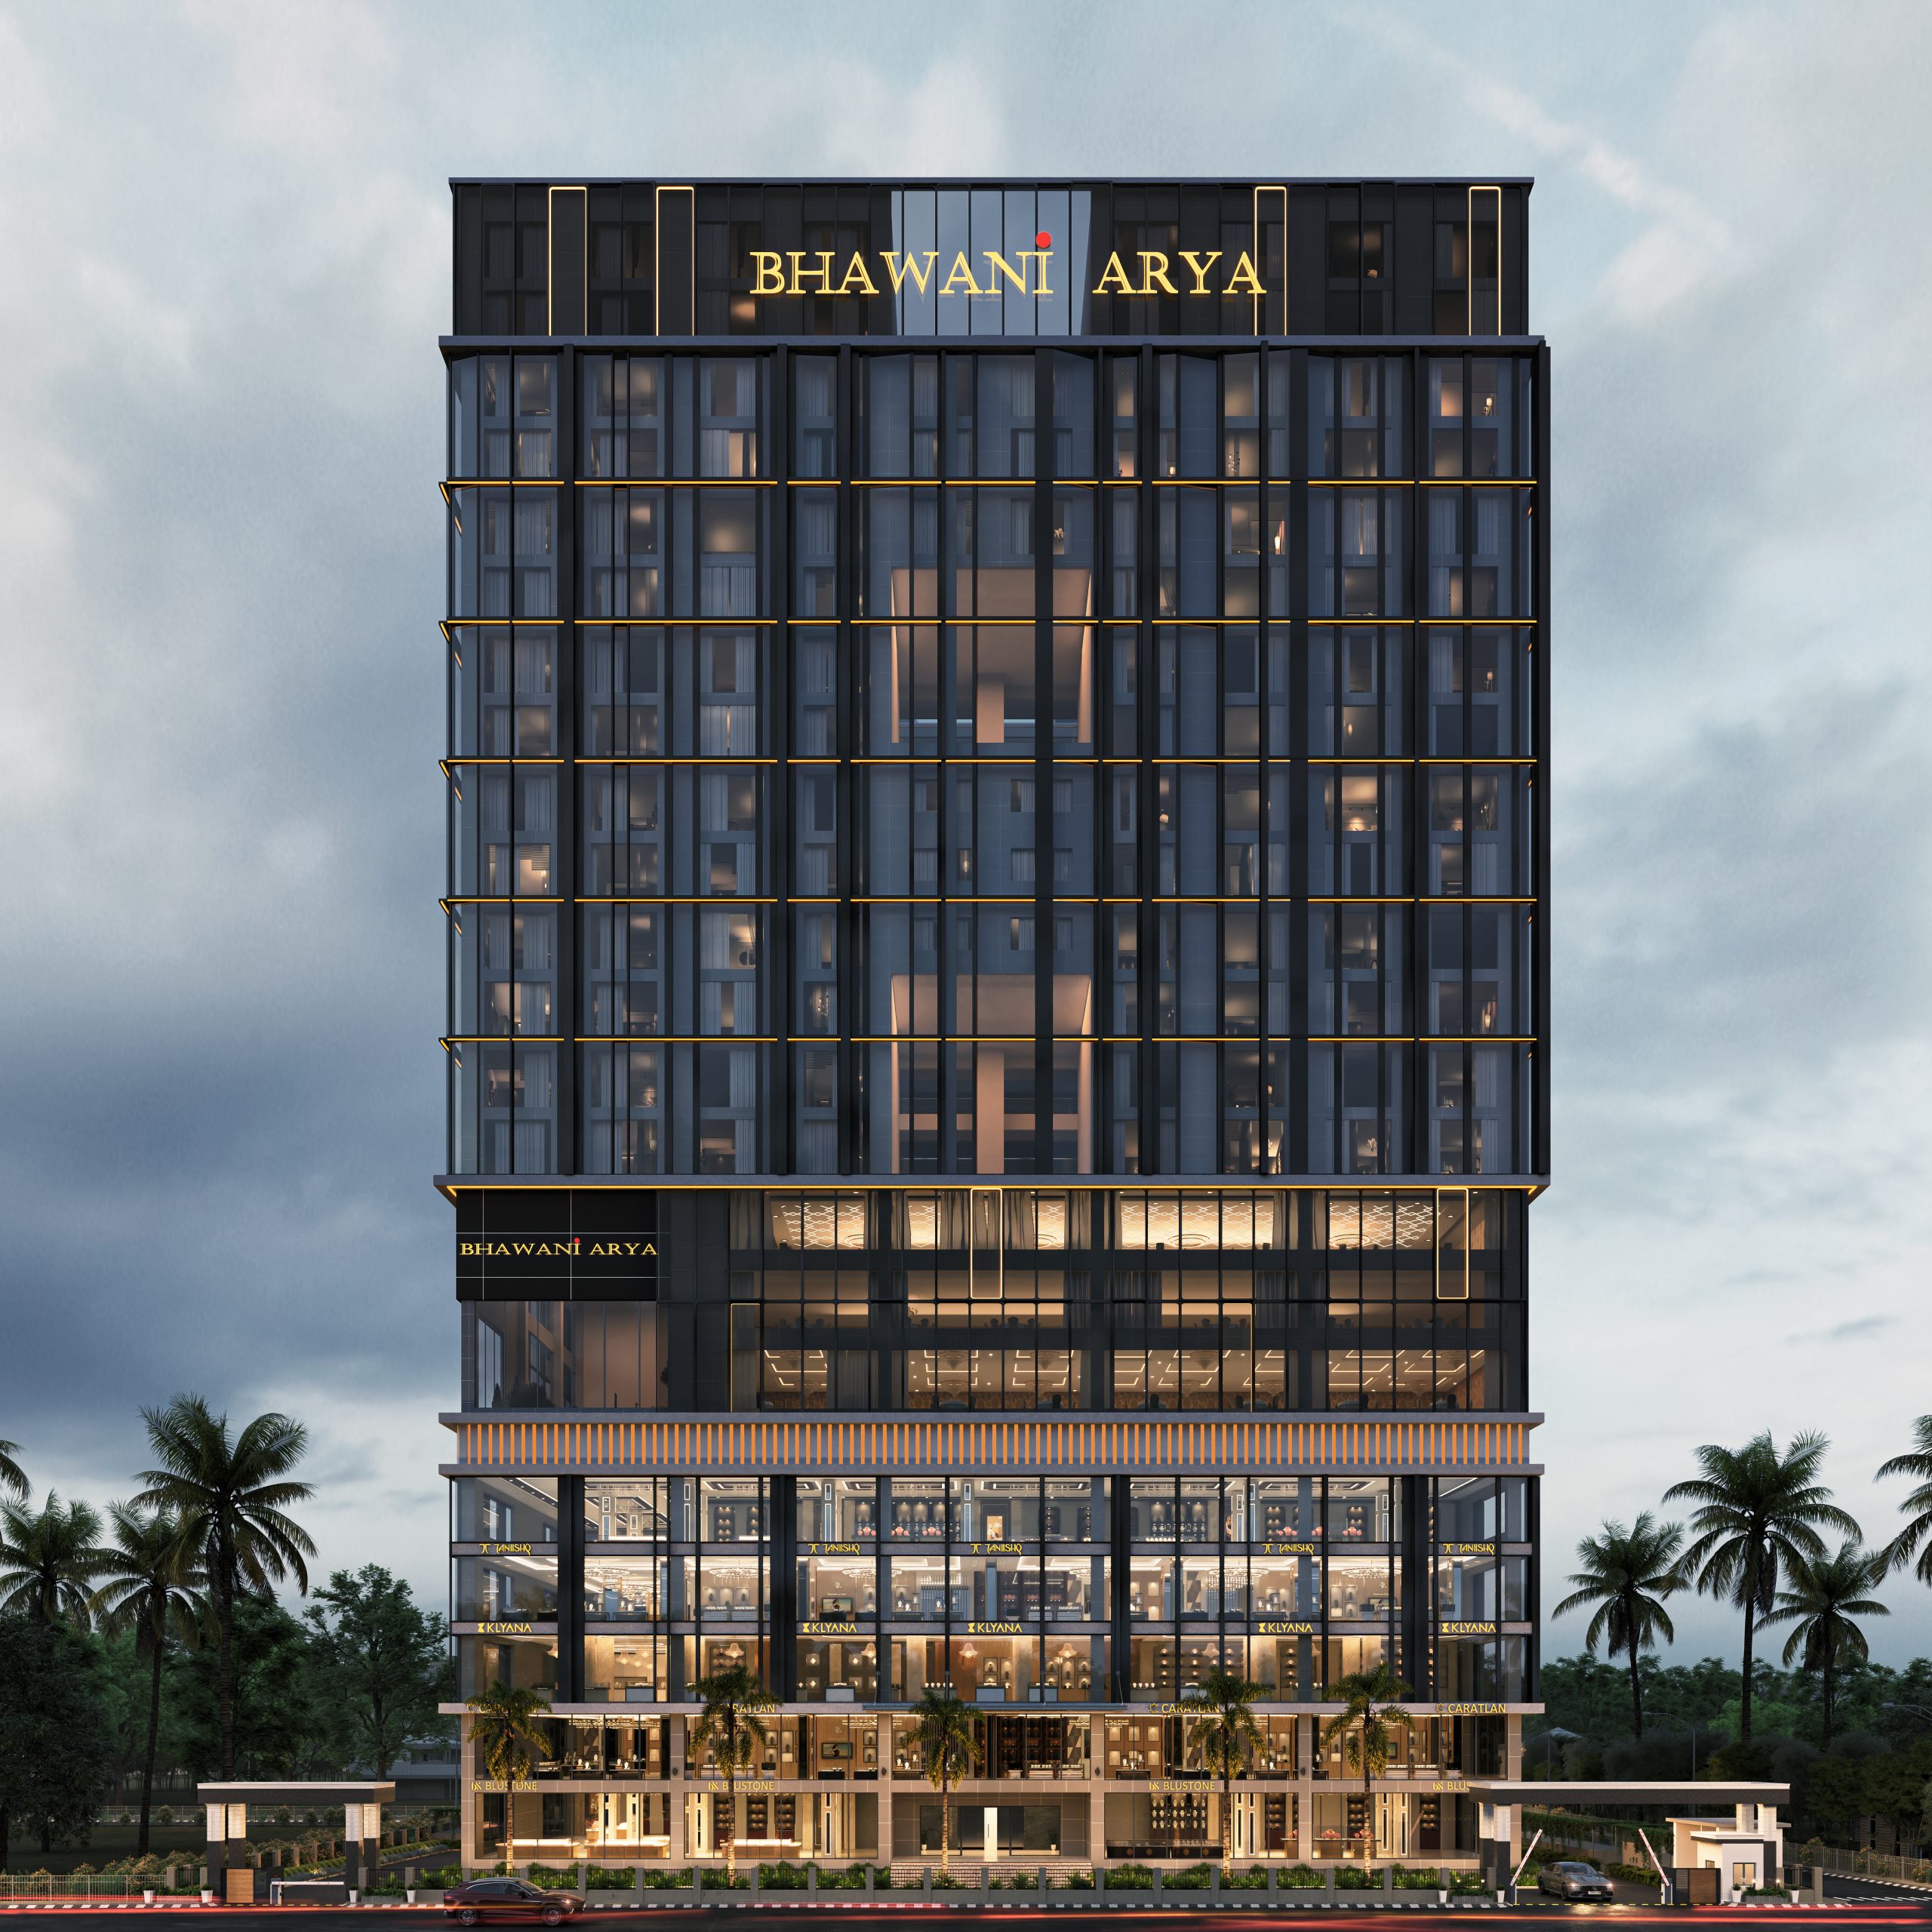
Once the model is ready, surfaces are given realistic materials. Lighting is adjusted to match natural and artificial conditions. This step is where the space starts feeling real instead of just technical. A good setup can completely change how the final output looks.
Step 4: Camera Path and Animation Setup
Now the movement is planned. How you choose to pan your camera determines how a person views the room. Timing is adjusted to ensure the transitions are smooth and fluid. This part is important because poor movement can make even a good design feel uncomfortable.
Step 5: Rendering and Post-Production
The final visuals are rendered into video frames. After that, editing and post-production refine colours, motion, and transitions. Sound effects or background music may be added depending on the project style. This is where everything comes together into a finished presentation.
Tools and Software Used for 3D Walkthrough Creation
The commonly used software tools for production include the following:
- Autodesk 3ds Max
- SketchUp
- Blender
- V-Ray
- Lumion
- Unreal Engine
- Adobe After Effects
All these software have their own unique function depending on the requirements of the project.
Tips to Make Your 3D Walkthrough More Engaging and Realistic
- Move the camera slowly for the viewer’s benefit.
- Do not use lighting that makes the scene look unrealistic.
- Consider the sense of scale when shooting your video because slight mistakes in proportions will be evident.
- Introduce environmental details into the set.
- Don’t overcrowd the scene with too many elements because they might detract from the overall visual appeal.
- Do not forget about your story.
Common Mistakes to Avoid in 3D Walkthrough Projects
- Camera movement is too animated, becoming unnatural.
- Disregarding balance with lighting, which will make environments appear dull.
- Poor texture quality, lack of realism right from the start.
- No prior planning before modelling.
- Incorporation of unnecessary effects not necessary in the design.
- Rendering without testing leading to errors.
Conclusion: How to Create a Stunning 3D Walkthrough That Converts
An effective walkthrough is much more than the software itself; it is about clear communication. Each step plays its part in telling the story at the end. When done right, how to create 3d walkthrough projects becomes less about tools and more about communication. It helps clients see value before a single brick is placed. And that is usually what makes a presentation stand out, especially when visuals do most of the talking.